
Plants
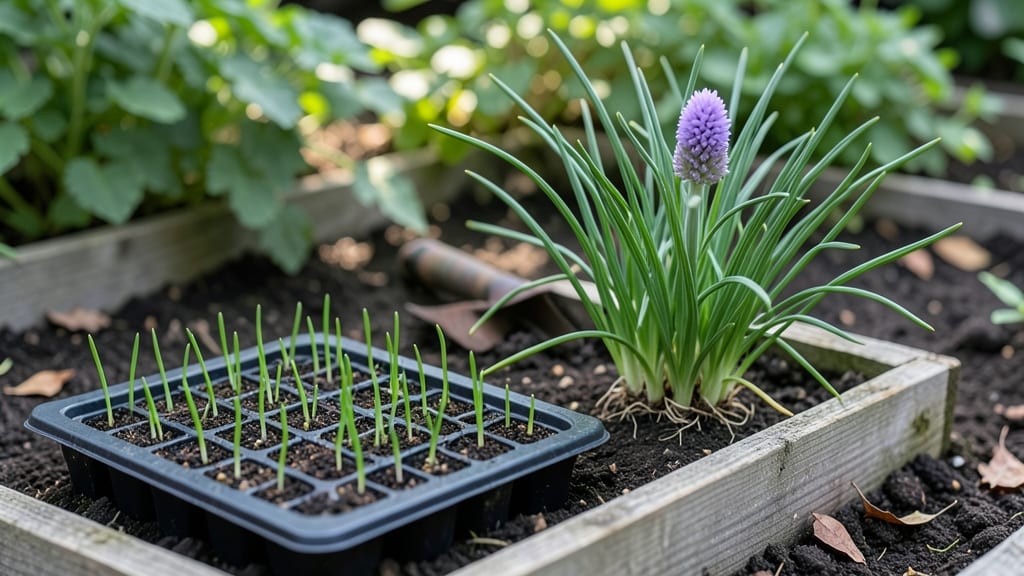
Planting chives in Zone 7 at the right time ensures a fast harvest and a hardy perennial that comes back year after year.
You’ve likely heard chives are easy to grow, but timing matters more than you think. Plant too early, and frost will set them back. Too late, and they’ll struggle to establish before summer heat hits. The secret is knowing the exact window—and whether to start from seed or transplants.
In Zone 7, the best months to plant chives are early spring (March–April) and early fall (September–October). These windows align with soil temperatures that encourage strong root growth, while avoiding the extremes of summer drought or winter freeze.
Fall planting, in particular, gives chives a head start before winter dormancy.
Below, I’ll break down the ideal planting schedule, soil prep tips, and how to extend your harvest season—so you can enjoy fresh chives from late spring to early fall without the guesswork.

Best planting months for chives in Zone 7 (spring vs fall)
Timing your chive planting in Zone 7 is all about avoiding early frosts and heatwaves. These hardy perennials thrive when planted either 4-6 weeks before the last frost (early spring) or 6-8 weeks before the first frost (late fall).
For most of Zone 7, that means March-April for spring and September-October for fall, with adjustments needed for microclimates.
I’ve found that transplants give faster results than seeds—especially in spring—because chives grow slowly from seed. However, fall planting from seed works well if you’re patient. The key is soil temperature: aim for 40-60°F for optimal germination and establishment.
Here’s how to decide between spring and fall planting based on your local conditions:
For microclimate adjustments, note that northern Zone 7 (like Roanoke, VA) has later last frosts (mid-April), while southern areas (like Atlanta, GA) can plant as early as February. Use a soil thermometer to confirm temperatures—chives won’t thrive if planted in cold, wet soil.
I recommend transplanting for fastest results, especially if you’re eager to harvest. Buy 6-inch transplants from nurseries in early spring (March) or late summer (August) for fall planting.
For direct sowing, scatter seeds ¼-inch deep in well-draining soil and keep them moist until germination (which takes 14-21 days at ideal temperatures).
One pro tip: If you plant in late spring (May), choose a partial shade location to protect young chives from intense Zone 7 heat. Mulch with straw or shredded leaves to retain moisture and regulate soil temperature—this is especially helpful in fall plantings to prevent winter heaving.
Chives are perennial, so once established, they’ll return year after year. However, their first-year growth is slower. To boost early vigor, add compost or aged manure to planting holes and water deeply after planting. Avoid overwatering, though—chives hate soggy roots.
For container growing, plant in 5-inch pots with well-draining potting mix. Containers warm up faster in spring, so you can plant 2-3 weeks earlier than in-ground. Just ensure pots have drainage holes to prevent root rot, a common issue in Zone 7’s humid summers.
Finally, remember that fall-planted chives often produce earlier spring harvests because they’ve had time to establish roots. If you’re in a warmer microclimate (like near a south-facing wall), you might even get year-round harvests with proper mulching and winter protection.
🌱
Chives growth timeline in Zone 7: from seed to harvest
Growing chives from seed in Zone 7 is a rewarding experience, but understanding their growth stages helps you plan for the best harvest. Unlike many herbs, chives are hardy perennials that return year after year with proper care. Let’s break down their development from seed to your first snip.
Chives are frost-tolerant, but timing matters. In Zone 7, you can plant them as early as February for a spring harvest or in September for a fall crop.
Their growth timeline spans about 75-90 days from seed to harvest, but with the right conditions, you can enjoy fresh chives year-round.
| Stage | Action | Timeframe |
|---|---|---|
| Seed Germination | Sow seeds ¼ inch deep, keep soil moist | 7-14 days |
| Seedling Growth | Thin seedlings to 4-6 inches apart, provide sunlight | 3-4 weeks |
| Establishment | Fertilize lightly, mulch to retain moisture | 4-6 weeks |
| First Harvest | Cut leaves when 4-6 inches tall, avoid flowers | 8-12 weeks |
| Mature Plant | Harvest regularly, divide clumps every 2-3 years | Year-round |
After sowing, chives typically germinate in 7-14 days when soil temperatures reach 50°F. Keep the soil consistently moist but avoid waterlogging, as chives dislike soggy roots. Once seedlings emerge, thin them to 4-6 inches apart to prevent overcrowding and encourage robust growth.
By 4-6 weeks, your chives will establish a strong root system and begin producing clumps of grass-like leaves. This is when you can start light fertilization with a balanced 5-10-10 mix to support their growth.
Mulching with straw or shredded leaves helps retain moisture and suppress weeds during this critical phase.
Your first harvest will arrive in 8-12 weeks, depending on planting time. Cut the leaves just above the base when they reach 4-6 inches tall—this encourages bushier growth. Avoid harvesting flowers if you want to maximize leaf production, as flowering diverts energy away from your edible foliage.
Chives are frost-hardy and can survive light freezes, making them ideal for Zone 7’s climate. To extend your harvest, plant a second crop in late summer (August) for a fall harvest before the first frost in mid-November.
With proper care, your chives will return year after year, providing fresh flavor for your garden.