
Planting
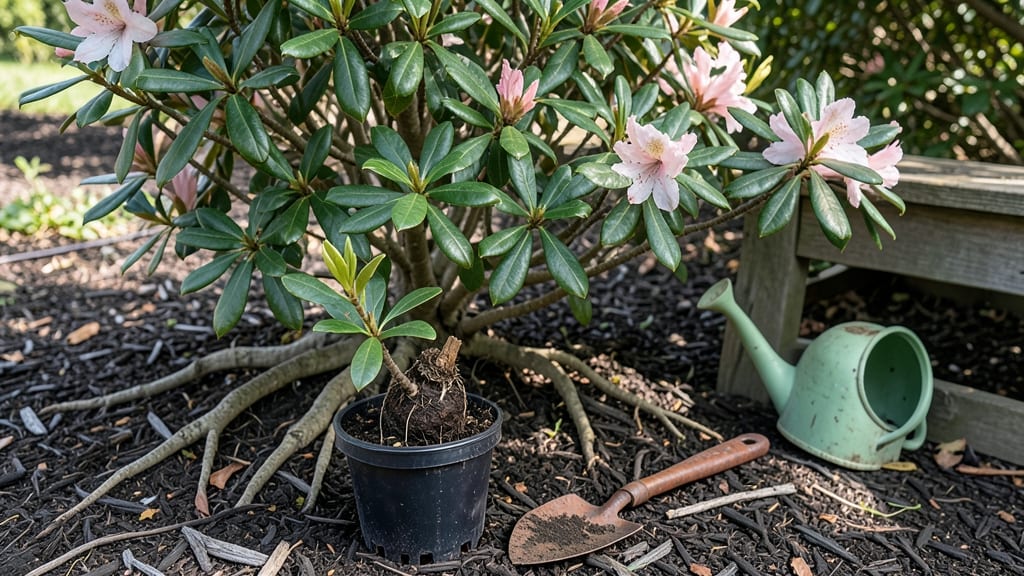
Transplanting azaleas 🌸 in Zone 7 at the wrong time can turn your blooming shrubs into stressed-out survivors — but timing it right means vibrant flowers and thriving roots.
Picture this: you’ve spent months nurturing your azaleas, only to move them during a scorching summer or a hard freeze, and suddenly, those gorgeous blooms start fading. That’s why knowing when to transplant is everything.
In Zone 7, the ideal windows are early spring (March-April) or fall (September-October), when temperatures are mild and the soil is workable. These months give your azaleas the best chance to recover without the shock of extreme heat or cold.
Below, I’ll walk you through the exact steps to prepare your azaleas for transplanting, how to avoid common mistakes, and what to watch for in the weeks after moving them to their new home.


Optimal transplanting months for Zone 7 azaleas (with climate considerations)
Transplanting azaleas in Zone 7 requires careful timing to avoid stress from extreme temperatures. The best windows are early spring (March-April) and fall (September-October), when soil temperatures are mild and humidity is moderate.
Zone 7's humid summers and cool winters create unique challenges—transplanting during heatwaves or frosts can stunt root growth or cause shock.
Azaleas thrive when transplanted during cooler months, but the exact timing depends on your microclimate. For example, high-elevation areas in Zone 7 may have earlier last frosts (late March), while low-lying regions might wait until mid-April.
Always check your local last frost date and aim to transplant 2-4 weeks after the final frost for spring plantings.
Fall transplanting in Zone 7 works best from September through early October, giving roots time to establish before first frost (typically around November 1). Avoid late fall plantings—azaleas need 6-8 weeks to acclimate before winter dormancy.
In humid summers, transplanting in late summer (August) can work if you provide extra shade and consistent moisture.
Zone 7's humid summers make transplanting in June-July risky—azaleas can suffer from heat stress and root rot in soggy soil. If you must transplant during summer, do it on overcast days and keep the root ball consistently moist. Morning transplanting (before 10 AM) reduces stress from afternoon heat.
For microclimate adjustments, consider your yard's specific conditions. South-facing slopes may experience earlier warming in spring, while north-facing areas stay cooler longer. If your garden is shadier than average, you can transplant 1-2 weeks later in spring or earlier in fall—azaleas adapt well to partial shade.
One common mistake in Zone 7 is transplanting azaleas in late fall (November). While the air may feel mild, soil temperatures drop quickly, and root growth slows.
Always check soil temperature with a thermometer—ideal transplanting soil temps are 55°F–65°F (13°C–18°C). If soil is below 50°F (10°C), delay planting until spring.
After transplanting, focus on root establishment by keeping soil moist but not waterlogged. Mulch heavily (3–4 inches) with pine straw or bark to retain moisture and regulate soil temperature. In Zone 7's humid climate, mulch also helps prevent fungal diseases like phytophthora, which thrive in wet conditions.
If you're moving azaleas from containers, inspect roots for circling or compacted growth—prune these before planting to encourage outward root spread. Container-grown azaleas often need extra watering during transplanting since their roots are less established in the ground.
Use a root stimulator (like mycorrhizal fungi) to boost root development in Zone 7's acidic soils.
Remember, azaleas in Zone 7 reward patience—plants transplanted at the optimal time will bloom vibrantly the following spring. Avoid the temptation to rush; a well-timed transplant sets your azaleas up for years of healthy growth.
With the right timing and care, your azaleas will thrive despite Zone 7's challenging climate.
How to prepare azaleas for transplanting: prep steps to avoid root shock
Transplanting azaleas requires careful preparation to prevent root shock and ensure they thrive in their new location. In Zone 7, timing and pre-transplant care are critical—azaleas are sensitive to stress, and improper handling can reduce blooms or even kill the plant.
The key is to minimize disruption while maximizing their ability to establish new roots.
Start your prep work at least 4-6 weeks before transplanting. This gives your azaleas time to adjust to reduced watering and pruning stress. Focus on three core areas: watering adjustments, soil amendments, and selective pruning. Each step helps reduce shock and promotes faster recovery after moving.
Step-by-Step Pre-Transplant Checklist for Azaleas
- Step 1: Water deeply 3 days before transplanting to hydrate roots. Aim for 1-2 gallons per plant to ensure the root ball stays moist.
- Step 2: Prune 2-3 weeks prior to reduce stress. Trim 1/3 of the oldest growth to encourage new root development and improve airflow.
- Step 3: Amend the new soil with peat moss or compost (1:1 ratio) to lower pH to 4.5-6.0, ideal for azaleas.
- Step 4: Dig a hole twice as wide as the root ball but no deeper. Loosen soil at the bottom to prevent root circling.
- Step 5: Transplant on a cloudy day or in early morning to avoid midday heat stress. Keep the root ball intact and cover roots with amended soil.
- Step 6: Water immediately after planting with 2 gallons of water to settle soil. Mulch with 2-3 inches of pine bark to retain moisture.
After transplanting, monitor your azaleas closely for the first 2 weeks. Signs of stress include yellowing leaves or wilting, which may indicate underwatering or poor soil contact. Increase watering frequency if the soil feels dry 1 inch below the surface, but avoid overwatering, which can suffocate roots.
Azaleas in Zone 7 also benefit from a light fertilizer application 4-6 weeks post-transplant. Use an acid-loving plant fertilizer (like 10-10-10) to replenish nutrients lost during the move. Apply it in the morning to prevent leaf burn from evening moisture.
With proper prep, your azaleas will establish roots within 4-6 weeks, setting the stage for vibrant blooms next season. The key is patience—rushing the process increases the risk of root shock, which can take months to recover from. 🌸